Tuesday, October 31, 2023

Happy Halloween

This is an alternative to paper pumpkin September 2020 Hello Pumpkin. Did can't remember what is the name of this fold but it's very simple although on my first card I did it wrong I guess as I was doing it by memory kind-a-sort-of remember how the card was but forgot the bridge part went on the front not on the back LOL I wanted it with acetate still worked out just different to the tutorial I had seen. I don't remember if measurements are the same but oh well it worked out one way or another.

Used an A2 120 lb. card base of Accent Opaque Digital International Paper cover Smooth white cardstock, Park Lane 110 lb. smooth black solid core cardstock with 1/16” border then 80 lb. white cardstock; added a masked of a 1-3/8" circle and blended Tim Holtz distress ink fossilized amber, carved pumpkin & rusty hinge and ground espresso with blending brushes. Then removed the mask and went over with the first brush without adding ink. I grabbed one of the leftover pieces of the double-sided printed cracker box from kit I had and used it as a fence and put the printed black die cut with a cherry red jewel sticker from MB. To Make the bridge I use acetate and the message is from the kit’s set hello pumpkin with VersaFine Clair nocturne 


For this card which I made a week later, I actually watch the tutorial and saw I made the bridge the wrong way, not that my way is wrong just not the same so decided to make this "their way" since I still had some ephemera leftover from the kit. Again A2 card base the same, then cut my layers of green, orange, and the pumpkins background paper by American Crafts The color of Memories leaving 1/16” border for my pieces except for center I cut my layer with 1/8” border. I did my bridge piece with white, green and orange scraps of cardstock same as the side and then added my printed pumpkin and witch hat die cut from kit. I stamped the witch’s broom stamp by Lockhart Stamp Co. with VersaFine Clair nocturne ink.


oldest grand-daughter stopped by with mom & friend trick or treating always fun seeing what she'll be dress of. Both her and her friend dressed similar. Can't believe how tall she is and only 13!! 


youngest grand-daughter also stopped by with her parents, always a surprise I think is always something to do with Disney




Monday, October 30, 2023

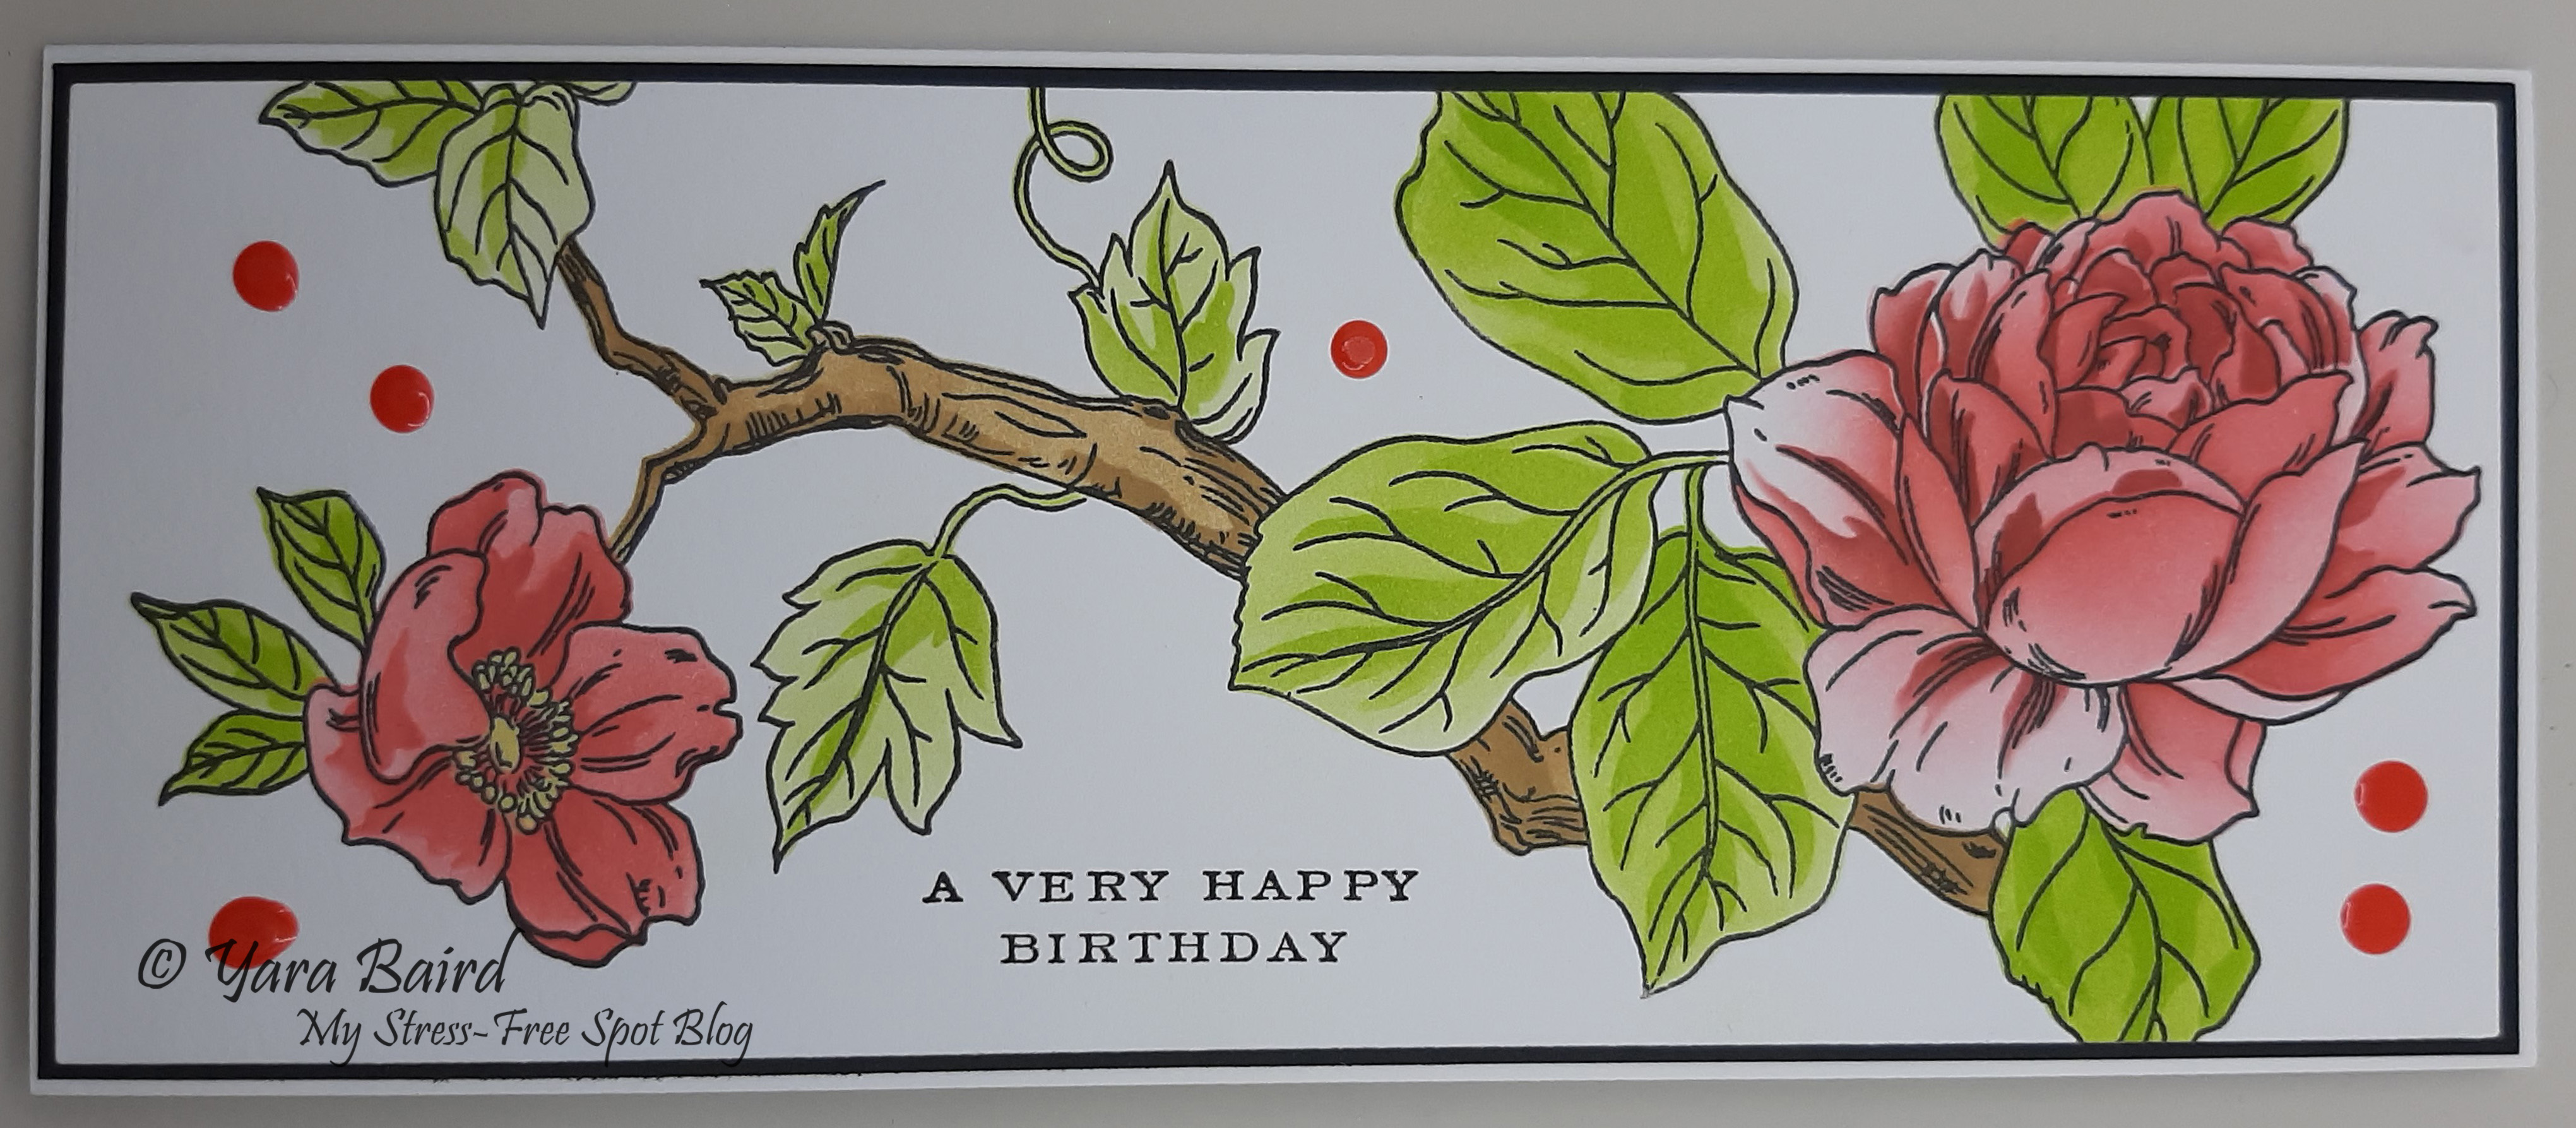
Altenew October 2023 Inspiration

I sent this card to one of my stamping friends for her birthday last week and she said I should enter it to this month's inspiration challenge at Altenew. I have never enter a card to a challenge guess never looked into it. I didn't use the exact same color so hope it works.


For this card used for the white cardstock used Accent Opaque Digital International Paper cover Smooth 120 lb. for cards base and 80 lb. for everything else and Recollections 110 lb. black cardstock; Used Altenew product for everything except for what noted.

Stamped Build-a-garden magnificent branch outline stamp set ALT7052 with VersaFine Clair nocturne ink and then using the layering stencil set ALT7052 with crisp dye inks and blending brushes colored the image. Leaves: parrot; branch: almond butter; flower: red sunset collection crimson, velvet, four scoops collection mango smoothie for center

Die cut card front with nesting slim layers die by Waffle Flower and mounted black then to slim lime card base and finally then added some Nuvo Crystal Drops gloss red berry

Finally used a birthday stamp with VersaFine Clair nocturne ink


Friday, October 27, 2023

Happy 60th!!

Today my brother had the gift of turning 60 one not everyone has, to reach this milestone and the blessing to celebrate another birthday! I were lucky to see him this summer so I took this birthday with us as I don't trust the post office in general here or in México to deliver 3D cards anyway for his card I decided to make the fold I have been enjoying making at the time.

Wasn’t sure what I wanted other than obviously a fun fold and I have enjoyed Honey Bee Stamps layered birds dies so picked the owl and the popup bridge card. So simple to make big impact when receiving.

Used Accent Opaque Digital International Paper 120 lb. cover smooth white cardstock for the card base, then added cloud scrapbook paper I had. The lovely layers owl was part of my class Crop & Create and used scraps of papers to die cut the pieces. For one of the wings used Tim Holtz distress ink hickory smoke, for one of the head pieces black soot and for the eyes spiced marmalade. Since the owl had to be on something found a tree die and die cut 4 layers because the owl didn’t go across the bridge used acetate and was able to glue the tree trunk to my liking. For the 60 used 2 layers of white and 1 of black using die set whimsy U/L/N/P by Spellbinder. 


for the back, because I don't like the personal message to show I do a notecard and use magnets for the closure.


it does fold flat but requires extra postage but because it was for my brother and do be hand-delivered by his son IF he doesn't lose or forgets LOL I put it inside a clear card box


Saturday, August 26, 2023

Happy 28th

 Today we are celebrating our 28th wedding anniversary. Amazing how fast time flies. I have been looking for a 5th wheel die but can't seem to find one so decided to use a camper.

For Saturday with Bridget's challenge Alysia gave us shaped card, smooshing, use of stencil and no flowers. So was perfect for my anniversary card.

For the card base used Recollections 110 lb. white cardstock, as well as scraps for the rest of white and scraps of gray.

For the card started by die cutting 4 pieces of the camp tailer card honey cut dies by Honey Bee Stamps. Grab one set aside the other 3. Then with Altenew crisp dye inks did the smooshing technique with silver stone and limestone inks as if it was dirt on the camper. Then cut all the pieces from scraps of gray, white and black and purple for the curtains. On two cardstock on the bottom colored with blending brushes same color as ink smooshing just to darken it a bit more as I didn't have too many gray colors then used the stencil with industrial diamond ink and finally because I’m using this card for Bret for our anniversary card added the 28th with pure graphite ink from stamp set journal stamps calendar in English by P13. Glue this piece to another layer to give it more stability then to the other two pieces which were the back on one score and fold about 3/8” on the other cut off the 3/8” then glue together.


When I was going to stamp the message was hard so I just cut another layer cut again 3/8” stamp message from Picket Fence Studios and then glue.


Wednesday, August 9, 2023

In Memory

Today we would have been celebrating my dad's birthday but he didn't have the gift of celebrating his 86th birthday. He was taken from us on February 18th of this year so all we have is his memories. He wasn't a perfect man but still to me was a great father.

For this card, card base Accent Opaque Digital International Paper cover smooth white cardstock 120 lb., rest of white is 80 lb. I started this card by cutting a piece of white cardstock then using the hill blossoms layering stencil set by Altenew I colored my leaves with Altenew crisp dye bamboo & olive and blender brushes then colored my flowers with sea breeze, turquoise, tide blue and with detail brushes starlight. Then cut the layer with matching dies hill blossoms dies set by Altenew. For one I cut 4 layers of another cardstock and mounted behind. The other I left flat. Then I cut a slimline layer of white cardstock with square grid windows slimline essential dies by Kraftgali stamped with gorgeous grunge stamp set by SU with classic stampin’ ink second, third & fourth generation with baja breeze, blushing bride and crushed curry then mounted on a layer of Park Lane 110 lb. smooth black solid core cardstock then mounted to card base, for my message I used holiday hugs stamp set by Waffle Flower with VersaFine Clair nocturne ink.


Friday, August 4, 2023

Mail Mail

Simple card using one of my favorites. For the card base used Accent Opaque Digital International Paper cover smooth white cardstock 120 lb. for other white used 80 lb., Park Lane 110 lb. smooth black solid core cardstock

Started by grabbing a piece of white cardstock then stamped my image happy mail stamp by Stampabilities with Memento Tuxedo black 3 times masking the green areas which then stamped 3 times with Memento dual marker cottage ivy then I used Copic markers to add some color C00 just for a light highlight to Snoopy and B41 & B45 to the envelope and then using my DIY cloud stencil and brush with Tim Holtz distress oxide salty ocean then I die cut the oval with stitched oval by The Stamps of Life matting with a layer of  black, then I grabbed another piece of white cardstock stamped the background stamp words by Local King Rubber Stamp with whisper amalgam ink 3 times by Gina K Designs and die cut the layer with double stitched rectangle die by Kat Scrappiness and matted on black cardstock die cut with Cindy Echtinaw Designs Card Creator Perfect Layers A and mounted all to a A2 card base. 


Thursday, August 3, 2023

Big hugs

For this card, card base is Accent Opaque Digital International Paper cover smooth white cardstock 120 lb., all other white is 80 lb. black cardstock is Park Lane 110 lb. smooth black solid core cardstock.

I started by cutting a piece of white then using the hill blossoms layering stencil set by Altenew, I colored my leaves with Altenew crisp dye bamboo & olive and blender brushes then colored my flowers with sunkissed, orange cream, autumn blaze and with detail brushes firebrick. Then cut the layer with mini slimline stitched die by KS Craft Lovers mounted on a layer black then to my mini slimline card base. For my message punched a layer of 1-1/2” circle punch by Recollections  on scraps of white cardstock and mounted on a scrap of  punched with scallop circle punch by SU and then 3 more layers of the white circles and then decided my message which on this case I used holiday hugs stamp set by Waffle Flower with VersaFine Clair nocturne ink