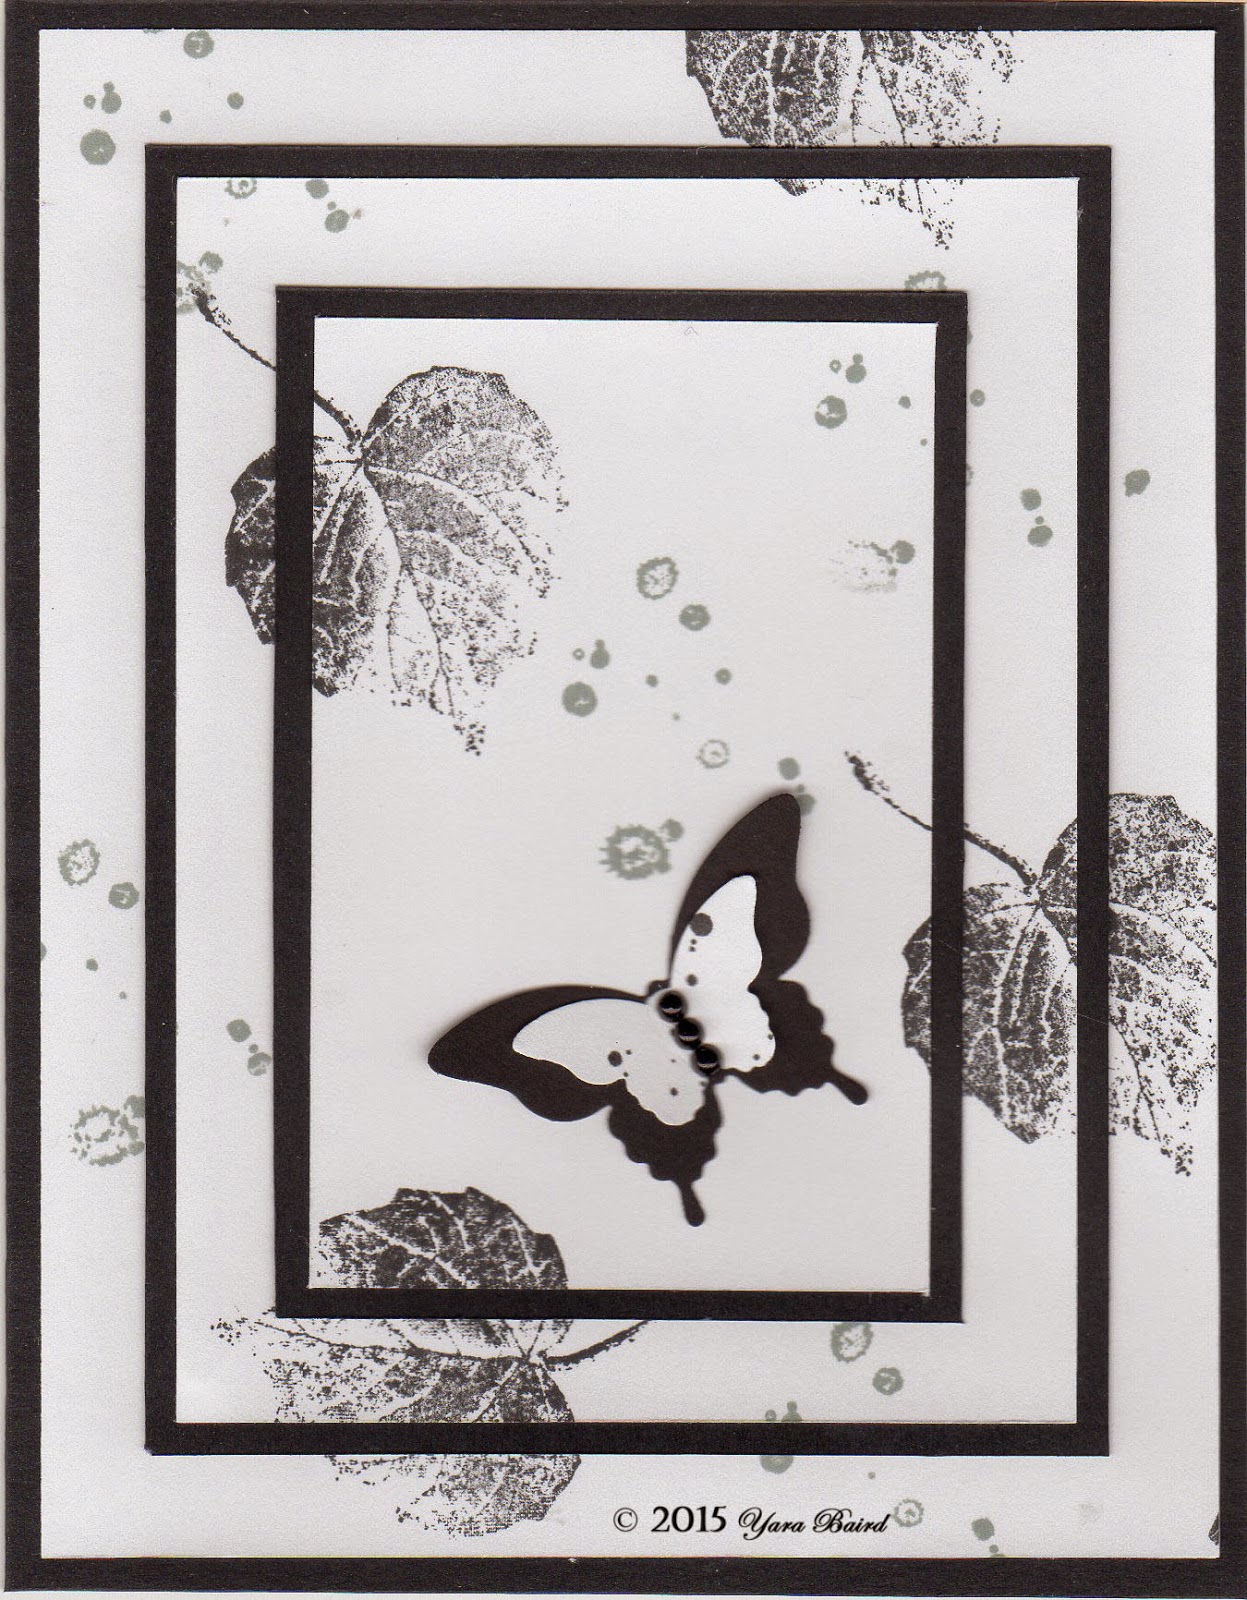
These are the steps I took. First I cut my paper the size I wanted, in this case I wanted 4.25" x 5.5" the final card is 4-1/2 x 5-3/4", then I stamped my images as desired.

then I cut my image layers. First I cut the bottom layer by cutting out a frame, the cut-off piece was 3.25" x 4.5"


The cut-off piece became my other two layers. I cut another frame by cutting off 2.25" x 3.5"

This is the piece put back together so you can see where the cuts ended up being

My next step was cutting my black layers the base was 9" x 5-3/4" folded in half. My other two layers came from the same piece that was 3.5" x 4.75"

On the smaller piece I cut another frame making sure I was leaving enough area so when I glued the pieces it would cover my "hole".

Then I mounted my stamped pieces to each black layer. This is the card base

the middle layer

and last the top layer

and finally mount one on top of each other...make sure you align the image so it looks like one whole piece

I finished the card by adding the butterflies and Violà same looks as the triple time stamping but without the OCD attack :0)
No comments:
Post a Comment