Saturday, January 31, 2015

Stampin' Up

Today I attended another SU workshop it was similar as last week except that we had 12 cards, 1 set of tags and 3 projects no cards. You do as many as you want or have time :0) I did 11 cards only


This one I can't remember what color of blendabilities we were supposed to use but since I only have  Rich razzleberry so I used that, probably it was supposed to be wisteria wonder :0) also the first picture is how the rhinestones were supposed to be but I decided I like it better with a whole line not just 4 :0)


On this one we were supposed to use glitter glue on the hearts but I used Wink of Stella clear glitter brush...doesn't show here but it does in person :0)


This one we were supposed to add gold glitter glue here and there but I added adhesive pearls by Recollections and also added some Wink of Stella clear glitter brush to the butterfly, again it doesn't show here but in person it does :0)

again we were supposed to add gold glitter glue on the scallops but I used adhesive pearls by Recollections


I used my Copic markers to color the card instead of blender and ink


and last, we had to add glitter to the tulips but I added Wink of Stella clear brush


Thursday, January 29, 2015

Shoebox Tuesday

For today's shoe-box I made this winter card that I had been wanting to try. I will probably get it done with the Scan N Cut but for now it was done with punches.

To get it the way I wanted I first stamped the face which is a stamp by Endless Creations (colored carrot with Copic Markers) then I punch the 3 circles for the body, the square and bird builder punches for the hat. Added a piece of black paper to make the hat pop-up. Buttons are from Life Little Occasions. The snowflake is pearl sticker by Eyelet Outlet & Brads. For the snow banks I use glitter paper and Die-namics dies. The message is also Endless Creations


Wednesday, January 28, 2015

Shoebox Thursday

Today's shoe-box was a Valentine's card BUT since Linda didn't have any messages that had Happy Valentine's day we used Just for you :0) All supplies are SU

Tuesday, January 27, 2015

Triple stamping my way

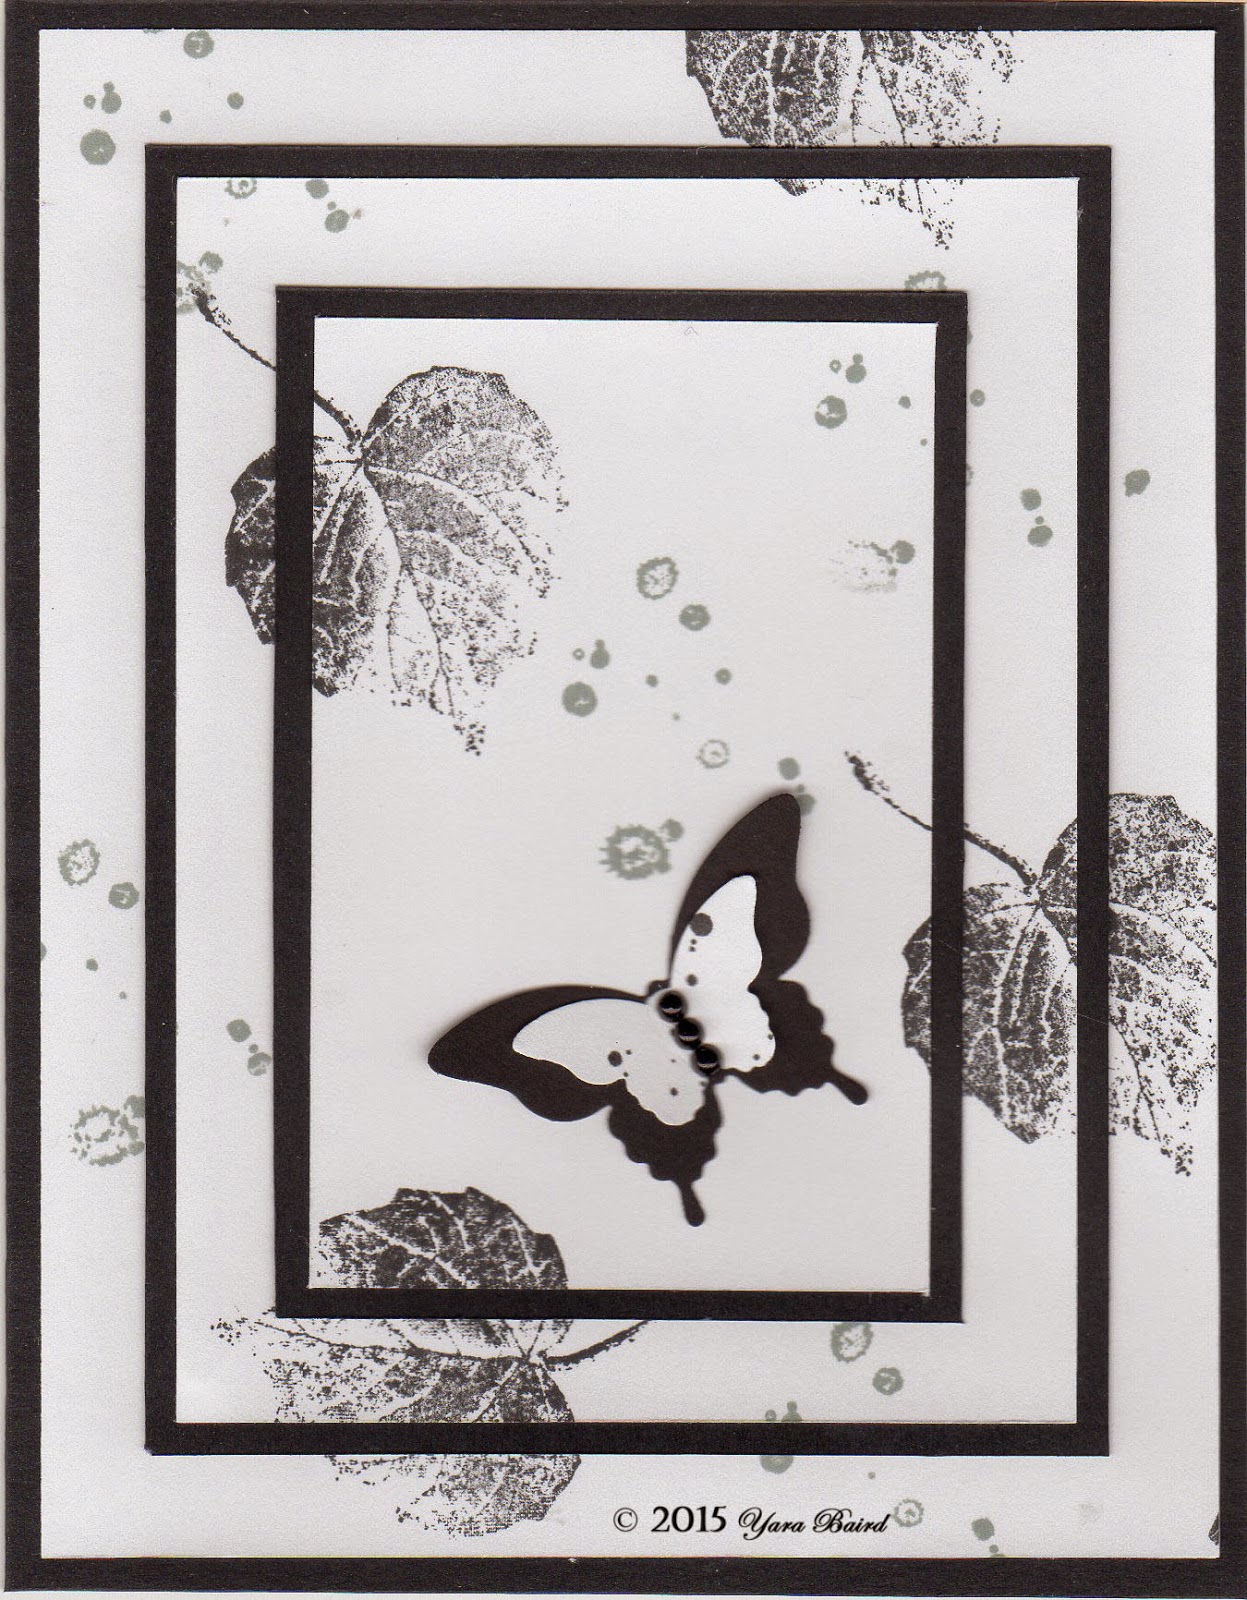
I love the look of the triple stamping technique BUT my OCD kicks in so rather don't do this technique. So decided to try the same look but doing it differently. It takes a little more time I suppose, but it's well worth it, technically is not triple stamping any more as it's just one paper but it's the same look :0) this is how my card looks when done. Except for the Distress ink & black pearls by Recollections everything else was SU


These are the steps I took. First I cut my paper the size I wanted, in this case I wanted 4.25" x 5.5"  the final card is 4-1/2 x 5-3/4", then I stamped my images as desired.


then I cut my image layers. First I cut the bottom layer by cutting out a frame, the cut-off piece was 3.25" x 4.5"


The cut-off piece became my other two layers. I cut another frame by cutting off 2.25" x 3.5"


This is the piece put back together so you can see where the cuts ended up being


My next step was cutting my black layers the base was 9" x 5-3/4" folded in half. My other two layers came from the same piece that was 3.5" x 4.75"


On the smaller piece I cut another frame making sure I was leaving enough area so when I glued the pieces it would cover my "hole".

Then I mounted my stamped pieces to each black layer. This is the card base


the middle layer


and last the top layer


and finally mount one on top of each other...make sure you align the image so it looks like one whole piece


I finished the card by adding the butterflies and Violà same looks as the triple time stamping but without the OCD attack :0)

Monday, January 26, 2015

Birthday card

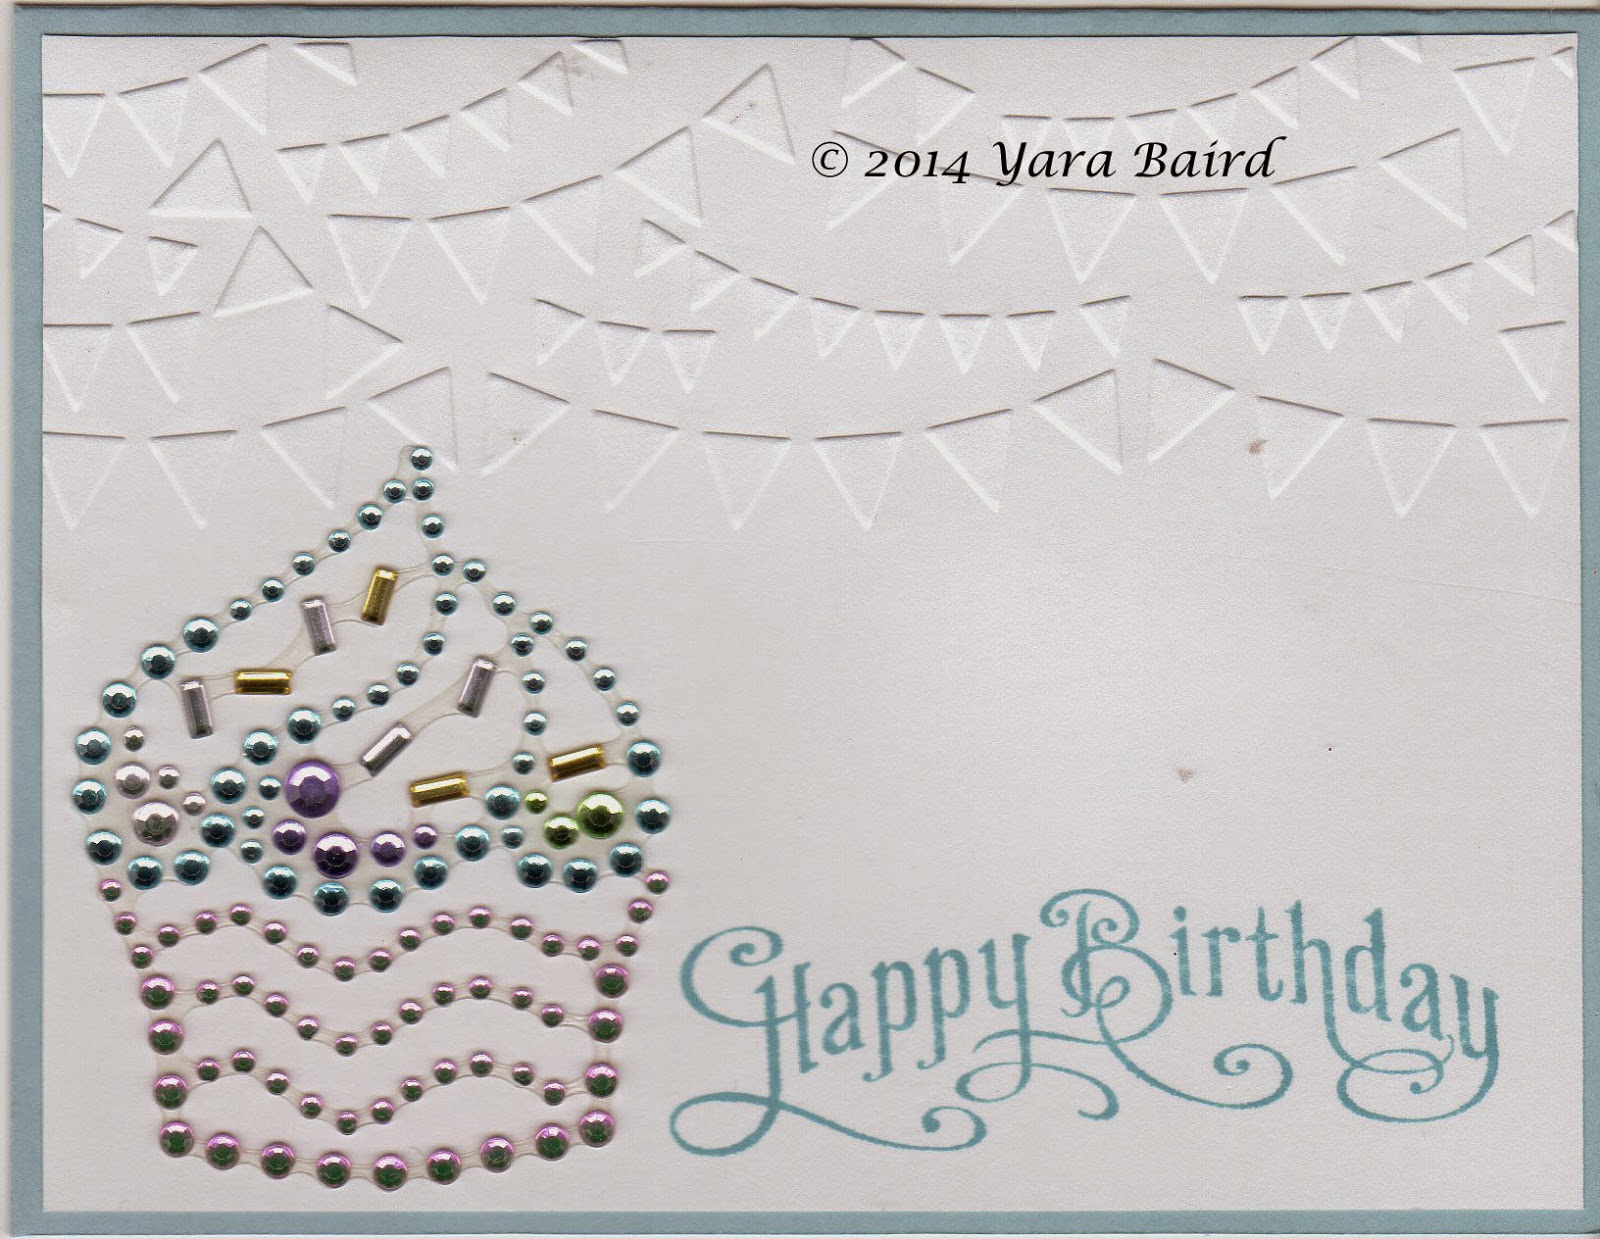
Another of the cards from the gift set. The embossing folder is Cuttlebug and a sticker from Michaels


Sunday, January 25, 2015

Birthday card

One more card of the gift set. The embossing folder is by LifeStyle Crafts, the words are SU and another sticker from Michaels

Saturday, January 24, 2015

Stampin' Up

Today I attended a SU workshop. The hostesses had 10 cards plus and extra project for us to make. The extra project was this month's Paper Pumpkin, since I have the Paper Pumpkin I just did the 10 cards. You do as many cards as you have time or as many as you want.


This was the only card I didn't do as the sample...I don't like sequins so I used gold rhinestones instead


Friday, January 23, 2015

Birthday card

This is another of the cards I made for the gift set. The message is SU the embossing folder is from the same set as the Mickey and another sticker I got at Michaels

Thursday, January 22, 2015

Shoebox Thursday

This is my week to host play day with the normal group so this was my project. Following this year's resolutions I used a new stamp set, by SU

The border punch is Martha Stewart and the pearls are Recollections


Wednesday, January 21, 2015

Impress

Today I went to Impress Stampers' drop in. I hadn't been to those make and takes since June last year!! I enjoy meeting with the other ladies. For the most part it's the same people all the time.

This time the project was a clean and simple valentine's day card. The heart is by Impress and it's done with the Ombre technique, the banner is by Savvy Stamps fuzzy cut and I believe the gold metallic cording is by May Arts

Tuesday, January 20, 2015

Shoebox Tuesday

For today's shoe-box project I made this clean and simple Valentine's card.

While searching Pinterest for ideas for Valentine's saw something similar posted by Nancy Littrell on Splitcoaststampers

I used the same tree by SU, stamped with rich cocoa and the retired heart punch, used a Copic multi liner to hang them. The words are a stamped that unfortunately I don't know who makes it.

A while back when I was watching tutorial for the Copic Markers a lot of them always talked about anchoring the images, of course it made sense but somehow we always thought it was fine that our images were floating :0) anyway since then I have try to always anchor my images and for this one I use my Copic markers.


Monday, January 19, 2015

Birthday card

This is another card from the gift set, this embossing folder is by Sizzix and some more stickers from Michaels these are Recollections

Sunday, January 18, 2015

Scrap cards

My scrap box was growing so decided to do what I did in 2013 and do as many cards as I could just with my scraps. Guess we all get things from friends. I have this friend from MN that when she's in town she always asks for my scraps' box and pretty much that's what she uses to make her cards. She left months ago and probably that's why my box was growing. Anyway, I also have couple boxes of stickers some were gifts and some I got because they were pretty :0) so that was what I used.

Except for a few pieces that I embossed because I wanted them to match the sticker EVERYTHING was from the scraps. Cards are all sizes but none was regular A2 size. The smallest is about 2-3/4 x 4-1/4 some maybe even smaller and the biggest I think was 4 x 4-1/2 although there were several 3-1/2 x 5.

Since all I had to do was cut the paper to make the card and then attach stickers I ended up making about 90 in two days. Some are just any day so I added two message either Hola or greetings.


Of course had to do some winter cards since we're in winter unfortunately until March


Even some Christmas 


& fall cards, Although sunflowers to me are any day card but most people just have them around fall...at least I see lots of sunflower stuff at that time...I'm not a flower person don't know when flowers bloom, do like them BUT I kill them in less than a day :0)


and these last cards were done with all the pieces I ended up after cutting the other cards.


Still have plenty of scraps and stickers so probably will do some more. Did used up most of them embossed paper so will have to either embossed more pieces or use background papers that I seem to collect also :0)