For this card started with an A2 card base of Accent Opaque Digital International Paper 120 lb. Cover Smooth white cardstock then a precut layer of Park Lane 110 lb. smooth black solid core cardstock with stitched rectangle dies by The Stamps of Life and a precut layered of orange cardstock also cut with stitched rectangle dies by The Stamps of Life then stamped it with pinstripes stamp set by Altenew with VersaMark ink. Then using a Halloween background paper die cut it with the BOO coordinating die by PPP, punched the cat with Cat punch by SU and added it in between the letters before gluing. For the mouth of the cat used spooky cat stamp set by SU and for the eyes Gem-fetti Glitterazzi embellishments
Saturday, October 29, 2022
Thursday, October 6, 2022
Holiday Hot Foil Class
Used Diagonal
glimmer stripes hot foil plate, for the top did double
hot foil with Glimmer essential solid arch hot foil plate and just the big ornament from Blooming ornament glimmer hot foil plate
& die set then die cut with Essential arches
cutting die set. For the embellishment used Sizzix &
Scrapbook.com Thinlits die matrice cut 3 times in red and once in green
and then added Nuvo Crystal Drops gloss dandelion yellow in the center to make
it a poinsettia. The message was also hot foil on the same herb garden paper
with Mini Christmas sentiment strips glimmer hot foil plates & die set.
For the next card, started by cutting a piece of My Colors cardstock 100 lb. herb garden
into A2 size and gluing to an A2 card base of Recollections 110 lb. white
cardstock then mounted a layer of Core’dinations heavy weight 250gm golden
pearl elegant pearlized paper then on a layer of Core’dination red hot foiled
with Spellbinders glimmer system that goes with my die cut machines. Used the
negative piece from the previous card Plaid tidings background glimmer hot foil
plate that used on the previous card with solid hot
foil plate by Pinkfresh Studio, for the top hot foil with Blooming
ornament glimmer hot foil plate & die set on the
white cardstock that came in the kit then die cut with matching dies and
colored with Copic Markers
and last card, started by cutting a piece of the white cardstock from the kit into A2 size ran it to quilted pillow 3D embossing folder by Sue Wilson Creative Expressions then glued it to an A2 card base of Recollections 110 lb. white cardstock. On a piece of Accent Opaque Digital International Paper 80 lb. cover smooth white cardstock hot foiled with Spellbinders glimmer system that goes with my die cut machines. Used Dazzling diamonds glimmer hot foil plate then die cut it with Essential arches cutting die set then on another piece foiled just the ornament from Blooming ornament glimmer hot foil plate & die set and die cut it plus die cut 3 more pieces for dimension. Didn’t add a message as it didn’t look like very Christmasy so haven’t decided if I’ll use it as Christmas card or just thinking of you.
Wednesday, October 5, 2022
Cards, Cards, Cards 2022 The Paper Cut
It came with 100 lb. cream A2 scored card base, layer of cream triple
square mini window card front, I used a dot of alcohol reinker on
a clear block in multiple fall colors and then with
an aqua brush used it to splatter the background then mounted the brushed gold mirricard
strip then the bronze glow DP glitter words die cut mounted a piece of acetate on the back of the opening then mounted the layer on fun foam on top of a piece of glitter piece then
mounted the leaves that were die cut with gold mirrilava, rosegold mirrilava
& copper mirricard
Next card was a bib overlay kit using Impression Obsession.It came with grape jelly bib card, white bib overlay which was stenciled with a chevron die cut that came in the kit with Tim Holtz distress oxide hickory smoke and Picket Fence Studios life changing blender brush then attached the strip of gun metal mirricard; the circles black, gun metal mirricard, grape jelly, antique gray that came in the kit as well as the witch brewing, messages are from clear stamp sets Lizzie and hand over candy. One message was attached on another piece of gun metal mirricard.
Next card was using Rubbernecker product. It came with wild cherry circle card base, white circle layers, strong lime layer pre-die cut with stitched circles set pre-embossed; green flash DP glitter cardstock strip, all images were pre-printed and pre-cut, for the inside fiery red DP glitter cardstock
Next and last card using Impression Obsession projects. It came with Jupiter metallic A2 scored card base cut in half and mounted to an A2 Recollections 110 lb. white cardstock card base, brushed gold mirricard layer, champagne curious metallic layer, gold mirrilava layer, opal stardream metallic where the images were stamped from August 2022 set and I colored with Copic markers, the words are Christmas words and mounted on a triple oblong oval
Tuesday, October 4, 2022
Cards, Cards, Cards 2022 The Paper Cut
The first one was using Impression Obsession products. The mask that was sent was using the mini slimline die. It came with white A6 scored card base, it was on the thin side but since it came with the inside and front layer to glue to left it as it was. For the front, masked the rectangle and using blending brush with classic stampin Sahara sand ink and crumb cake ink just on the edge the message both inside and front came from the clear stamp set sympathy, the trees are from the die tree row
Next was circle overlay window card using Rubbernecker product. It came with jellybean green circle window card base, blonde mini circle window overlay pre-embossed with Sizzix textured embossing folder which then using classic stampin soft suede spot ink added color then glued the rick rack piece of true red cardstock that came in the kit, then mounted the message which was pre-done from clear stamp set great outdoors and die cut with stitched oval set as well as the nutmeg piece; for the inside the backpack pre-printed to us to fussy cut and mounted on foam the message was mounted straight on, also pre-stamped just to mount on true red cardstock
Next card a stair step card using Rubbernecker product. It came with blu raspberry outer stair step card base, layer of urban
gray, layer if pastel grey, layer of blue jewel DP glitter; printed layer of white cougar 80 lb., border of so silk galmour
green pre-die cut with the wave border, pre-printed & die cut word layering; acetate to add the water that comes out of the whale. All images were pre-printed and die cut just to put together. This was one of the easiest cards as no fussy cutting LOL
Next is a slider card using Impression Obsession products. Make a wish clear stamp set. It came with aqua slider die cut layer which is the mechanism part to mount on a median yellow cardstock and to mount on an A2 top open white steno card. Strip of terrestrial teal, strip of strong lime and two pieces of azure mini print. All images were pre-printed but we had to fussy cut the candles, for the message on the front added left over Tim Holtz distress mustard seed ink that was on the blending brush, on the hiding message used Copic marker to go around, gems came in the kit
This next card, square front step card using Impression Obsession product. Butterfly die #2 using an older or retired thank you word stamp. It came with black front stair step card base, silver glossy layer, silver mirricard layer, brushed gold mirricard layer, so silk…black style layer. On the brushed gold mirricard added Tim Holtz alcohol inks eggplant, wild plum and a pearl ink villainous. Glued the the strips on the card base and the detail of the butterfly on the solid and then fussy cut it and mounted on foam; the message was already wet embossed in silver and not very well but I don't do wet embossing don't even have silver embossing.
Next card using Impression Obsession products. It came with so silk glamour green A2 scored card base but I cut it in half and glued to an A2 card base of Recollections 110 lb. white cardstock then glued the white lady cocktail metallic, then the words then green flash DP glitter layer then the other white lady cocktail metallic piece and on the silver stardust holographic piece used Tim Holtz alcohol inks for the background turquoise, glacier & laguna for the mermaids limeade & lettuce I added the mermaids to the wave border of so silk glamour green paper and then glued all to the rest
Monday, October 3, 2022
Holiday stencil class The Paper Cut
This was another of the class I got. It included 4 card and 2 stencils. 2 cards with each stencil and 2 cards were supposed to be done with stencil butter but I didn't have that, thought I would used White Glitz glitter gel by Gina K Designs & Therm-O-Web and reinker but guess if you don't use this glitter gel it dries so had to tossed it was totally dried.
Started by cutting the starburst lichen A2 scored card base in half and
mounting to an A2 card base of Recollections 110 lb. white cardstock then
mounted the silver MirriCard stock on top then the black and then on the white lady
cocktail metallic layer used Christmas tree stars stencil by Impression
Obsession and Altenew ergonomic blender brush with Tim Holtz oxide inks
salvage patina and on the bottom some peacock feathers on the Make Art
STAY-tion by Wendy Vecchi Ranger set, aside to dry; then mounted to the other
stacked layers and finally added the pre-die cut warm winter wishes dies, used jewels
basic rhinestones by SU for the tiddle just because everyone always say don't to forget it but when I write I never use it
Sunday, October 2, 2022
The Paper Cut Virtual Class
This was the second class from the 4 bundle virtual class I took. This was fun folds & interactives cards which included 4 cards plus a free kit. The products were from Rubbernecker and Impression Obsession
The first card was doing a joy fold card. Using Impression Obsession products. The kit was both white stene card base were pre-score the A2 had to be cut then mounted the Lessebo strong strong purple on the inside for the small card base the layers were Lessebo strong purple and pastel grey for the front and Lessebo strong line & soft pink for the inside. for the top A2, did the strip piece with Lessebo cardstocks soft blue, pastel grey, strong purple, soft pink, bright pink & strong lime. The words was a happy birthday frame die cut on ice silver metallic cardstock which I divided in two, there was 4 balloons in the kit 3 for decoration and one extra which I used as a closure so the top of the joy fold would stay closed. The candles were colored with Copic markers to match the strip of papers.
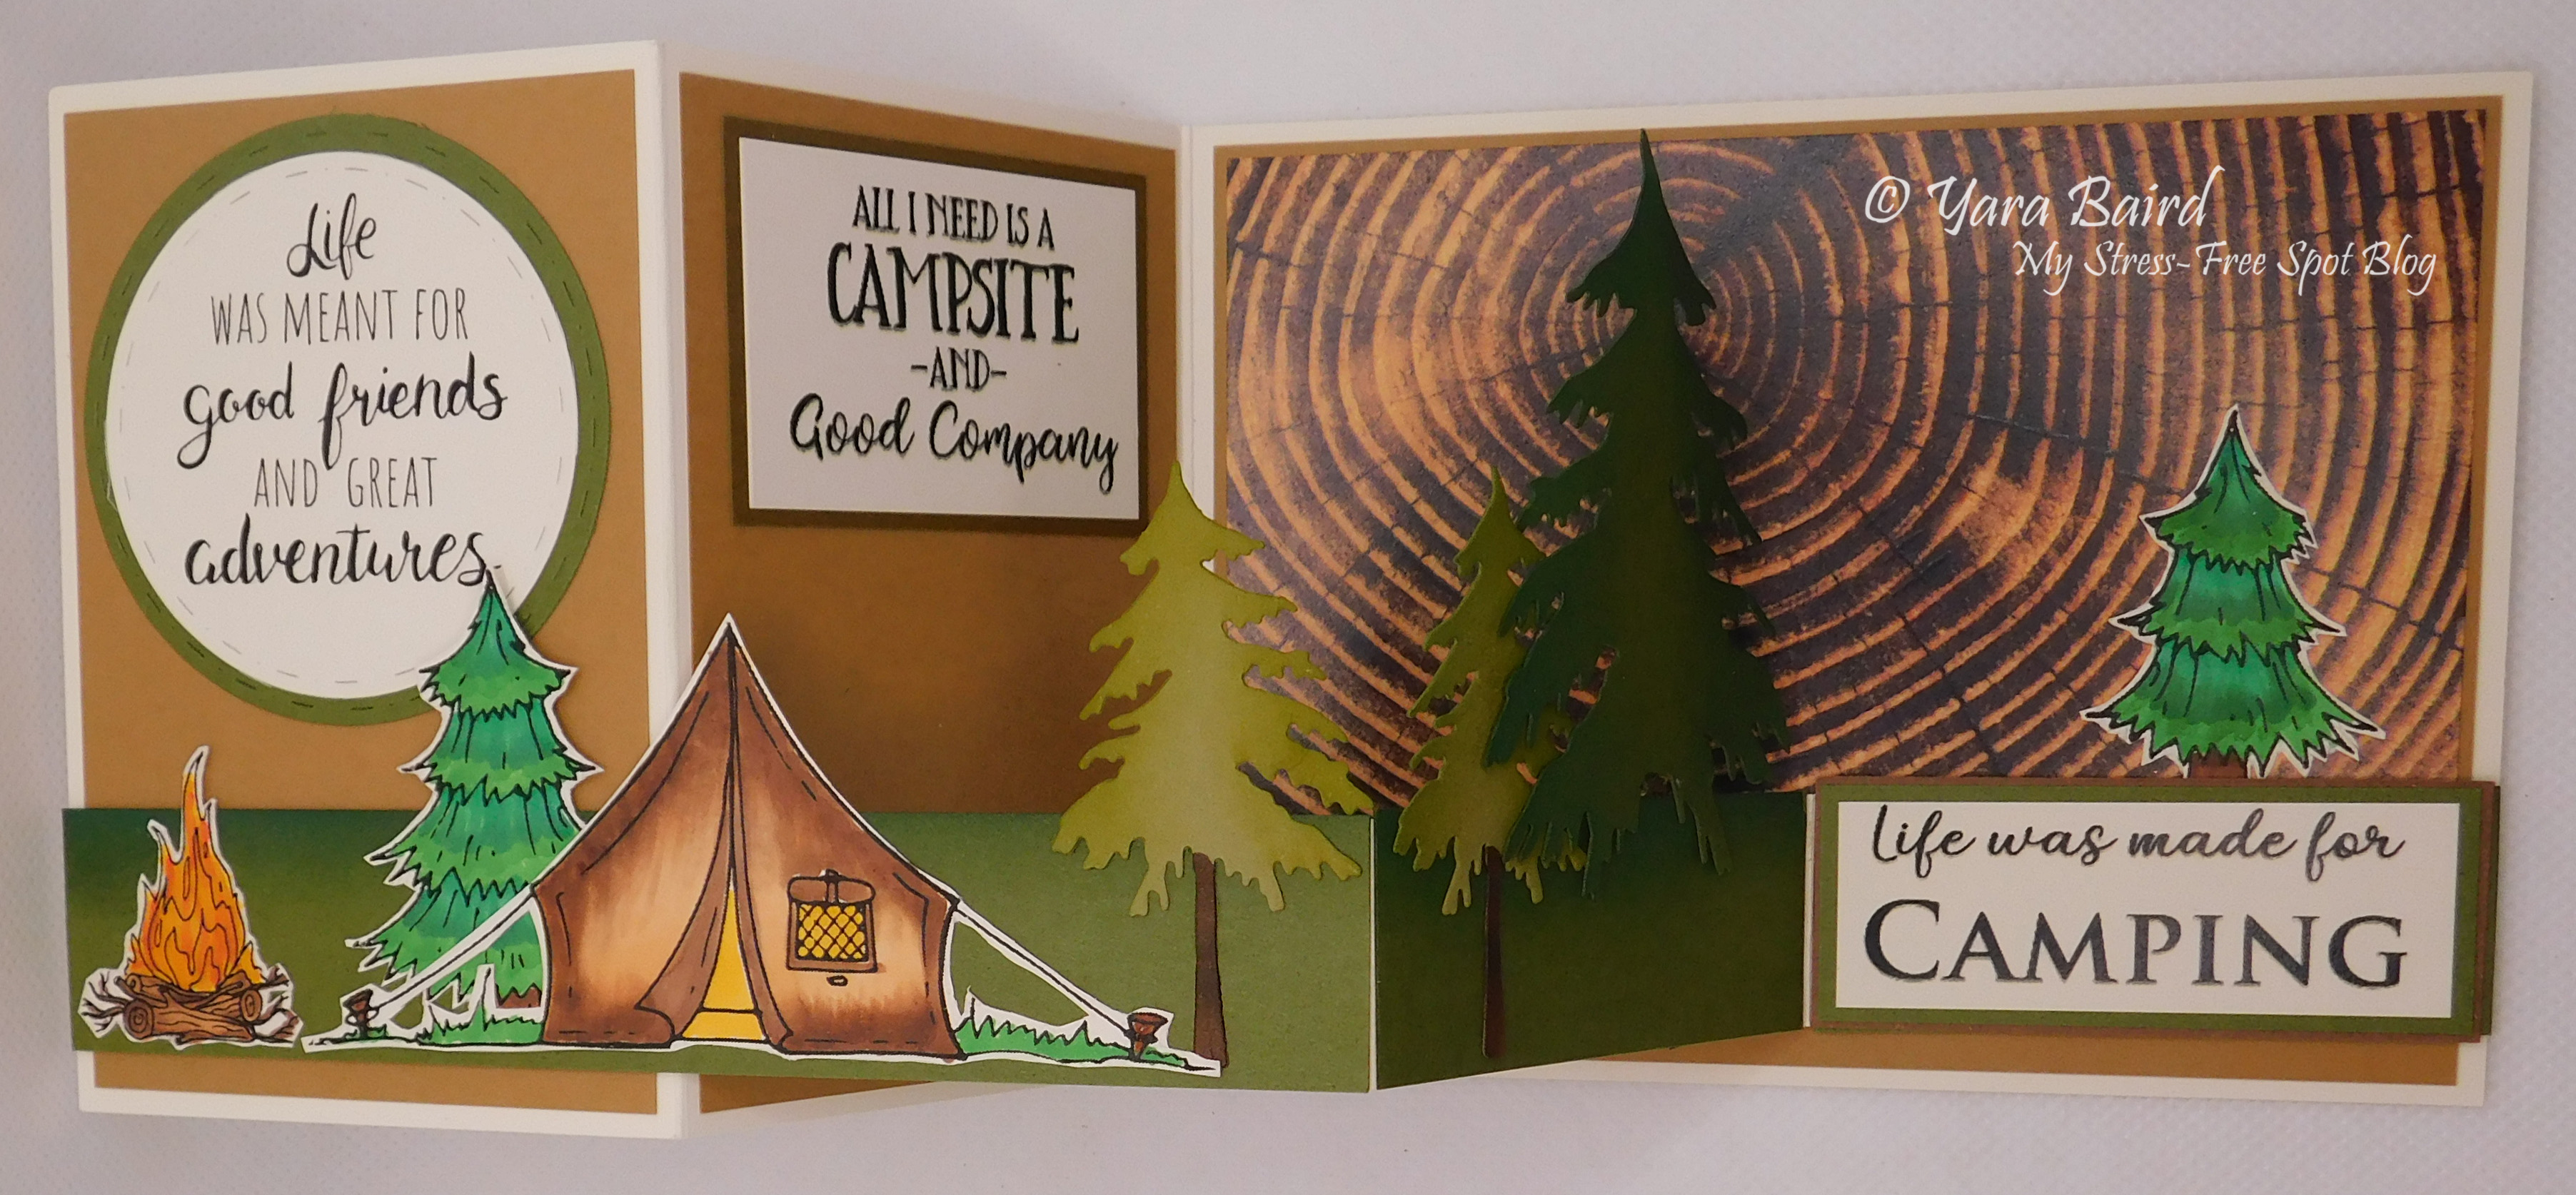
For this second card, a horizontal double S or Z fold the kit had the card already score as it needed in a cream color. Products were Rubbernecker & Impression Obsession. The paper is from woods & metals slimline printed pad; Lessebo bright brown for the small pieces, jellybean green 100 lb. and factory green 100 lb. for trees & for the fake grass on the small s/z fold which was supposed to be torn but I don't do well that so I just added Tim Holtz distress ink rustic wilderness, I could just have but it with a grass die but too lazy on my part LOL the smaller trees I used crushed olive, for the trunks used a Copic marker; for the other trees and tent it was either printed or pre-stamp and we had to color and fussy cut which I used Copic colors; the messages were also pre-stamp or pre-printed and die cut except for the rectangles which we had to cut down to size
For this card it was a peek-a-boo shutter card using Rubbernecker product. For this one it came with a cream A2 shutter card, the pieces for the shutter pre-stamped or printed cream cardstock & pre cut hot fudge; the printed images were blended with Tim Holtz distress oxide inks and Picket Fence Studios life changing blender brush to add the color on my pieces. Fossilized amber, carved pumpkin, candied apple & tea dye then mounted my kit didn't have the gold strips so used scraps from my stash and mounted on top of copper stardream metallic, for the inside the message came pre-stamped on the stitched oval die cut so just had to mount for the front, message also came pre-stamped so just had to mount but added some of the left over ink on the brushes and since there was too much space between the circle and the brown I added a gold circle and then the leaf that came in the kit
For the last kit was a flip-it card using Rubbernecker product. It came with safety orange A2 score card, 65 lb. jelly bean green cardstock, and autumn leaves paper glued together which had the flags layering die cut for the mechanism, a piece of mustard, the stitched circles were cut from copper stardream metallic cardstock; for the images I colored with Copic markers, used corner concave by EK Success for the corner of the pull tab; ribbon & gems came in the kit
Saturday, October 1, 2022
Happy CardMaking Day
Today is a day for us, card makers. I spent the day watching Altenew's 24-hour classes and working in my craft room finishing my classes I had signed up in September.
The Paper Cut had a Virtual 4 class bundle that I decided to try. I like when I have to do the things as some people had this slogan doesn't have to be perfect since it's handmade but to me that is wrong. Just because it's handmade you shouldn't do your best, just because it's not Hallmark doesn't mean your recipient doesn't deserve the best from you. When things are done for you and you don't have the supplies to redo you're stuck with the bad job unless you substitute but sometimes papers don't match or you just don't have supplies to substitute anyway
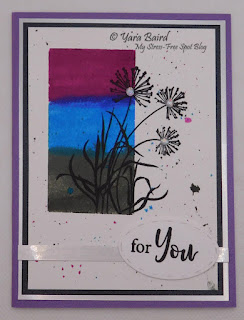
This first class silhouettes & backgrounds consisted on supplies for 4 cards and a clear stamp set by Rubbernecket which we used to make the cards. It also had some extra papers in case we wanted to use other colors or didn't have the colors and some extra watercolor papers.
I started with the easiest card, the one that was no stamping and just ink blending. This card came with an A6 scored card base of 80 lb. white cougar but felt it was too thin so I cut it in half mounted one half to a card base of Recollections 110 lb. white cardstock, the top layer also of white cougar it was masked and then used Picket Fence Studios life changing blender brushes and Tim Holtz distress oxide inks wild honey, carved pumpkin and worn lipstick. Before mounting, I added some thin scraps of cardstock just to lift the layer so it wasn’t completely flat white on white. Then added the 3 layers of cone flowers die cuts that came in the kit a discontinued die and for the message picked one that came in pre-stamped or preprinted the kit from the black out words clear stamp set mounted on foam, I would have used another message but was trying to use what came in the kit. I think this is too small for the same of card. Pearls were from my stash since the ones from kit were too big for message...just me