Showing posts with label Triple Time Stamping Technique. Show all posts

Thursday, November 16, 2017

Shoebox Thursday

For today's shoebox project, I have another fall card. Yes I know everyone is working on Christmas but until December 20th we're still in Fall season so as much as I love Christmas I still feel like working on fall cards :0)

My card was another triple time stamping but my layers were tilted. We used two sets by Heartfelt Creations open falling leaves and distressed leaves with potter's clay, rich cocoa, bamboo leaves, brushed corduroy, rusty hinge, cottage ivy and peanut brittle inks and gorgeous grunge set by SU with Sahara sand ink. The bling is a rhinestone sticker by Recollections I bought many years ago


Thursday, November 9, 2017

Shoebox Thursday by Kathy

For today's shoebox project, Kathy had another Christmas card. She loves Christmas as much as I do so every chance she has to work on Christmas she does. We did the triple time stamping technique. All stamps were from same set but she didn't know what set it was we used real red and old olive ink


Tuesday, January 27, 2015

Triple stamping my way

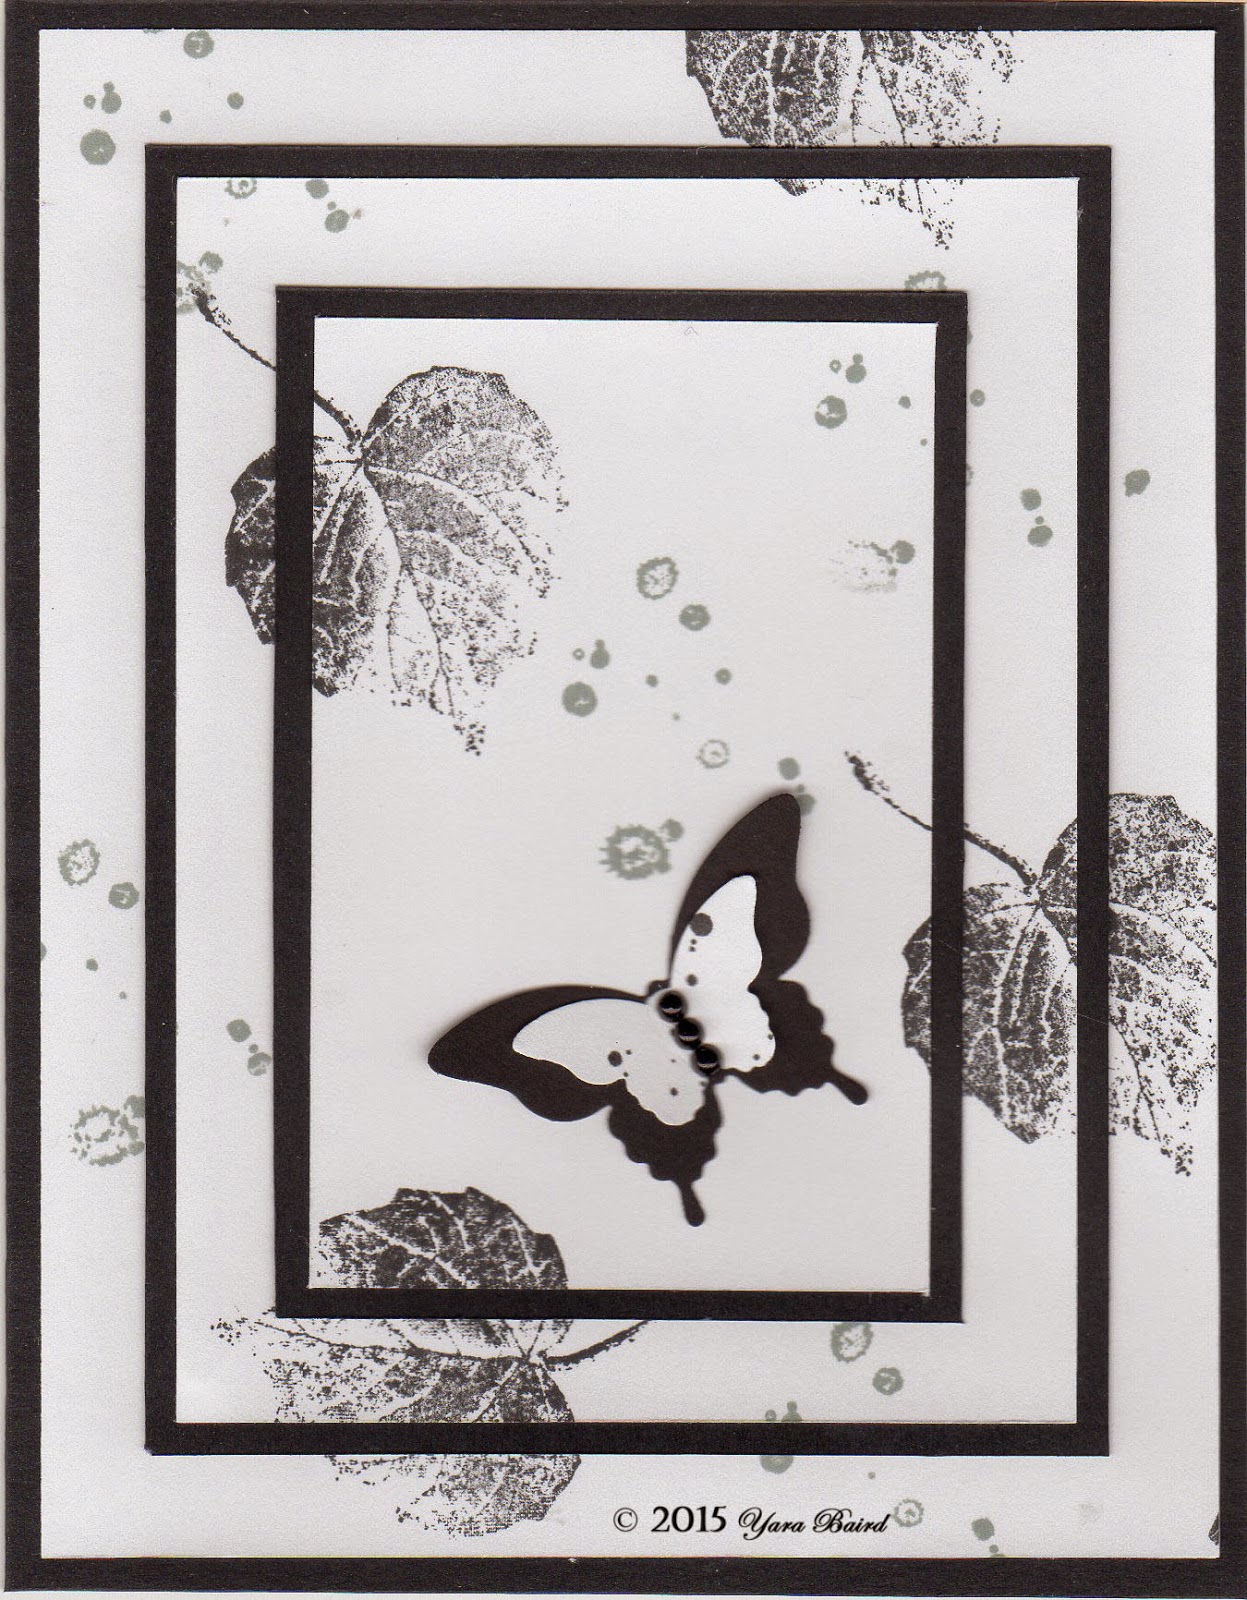
I love the look of the triple stamping technique BUT my OCD kicks in so rather don't do this technique. So decided to try the same look but doing it differently. It takes a little more time I suppose, but it's well worth it, technically is not triple stamping any more as it's just one paper but it's the same look :0) this is how my card looks when done. Except for the Distress ink & black pearls by Recollections everything else was SU


These are the steps I took. First I cut my paper the size I wanted, in this case I wanted 4.25" x 5.5"  the final card is 4-1/2 x 5-3/4", then I stamped my images as desired.


then I cut my image layers. First I cut the bottom layer by cutting out a frame, the cut-off piece was 3.25" x 4.5"


The cut-off piece became my other two layers. I cut another frame by cutting off 2.25" x 3.5"


This is the piece put back together so you can see where the cuts ended up being


My next step was cutting my black layers the base was 9" x 5-3/4" folded in half. My other two layers came from the same piece that was 3.5" x 4.75"


On the smaller piece I cut another frame making sure I was leaving enough area so when I glued the pieces it would cover my "hole".

Then I mounted my stamped pieces to each black layer. This is the card base


the middle layer


and last the top layer


and finally mount one on top of each other...make sure you align the image so it looks like one whole piece


I finished the card by adding the butterflies and Violà same looks as the triple time stamping but without the OCD attack :0)

Thursday, August 14, 2014

Shoebox Thursday

Today's shoe-box project was something we had done in the past, for the most part it really doesn't matter what we do as project as well and the supplies we use. But of course doing something different each times is best :0)

Just like with any shoe-box project, must supplies are ready for us just to put together. Which means most of the time the die cutting, embossing and even the punching is done and the stamping is minimal to save time, none of us have duplicate supplies and we're 6 most of the time so it takes time to go around with one thing. We could always ask the others if they have what we'll be using so there would be extras, but the whole purpose of the hostess is the one doing the project is so we don't have to hauler stuff...other than our stamping kit and whatever we want to work on. In our group we have an hour to work on the project then we have lunch and we spend the rest of the afternoon doing our own thing...or just visits :0)

We were doing the triple time stamping technique. Kathy had been working on this technique with different themes and Linda wanted to do a card from start to finish. Is my understanding that only Kathy and I have done this technique...from start to finish. The rest only have done the one we did months ago or none. I like this technique but I don't do it often as I have a little problem with the image not stamping well right where the layers end, so I have to work fast stamping and adding the layers so I don't see that little boo-boo :0) 

The stamp we used is by Stampendous and the inks were SU...we got to pick between pink, greens and purples, rhinestones from her stash as well as the papers